Signs You Need to Rebuild Retaining Wall
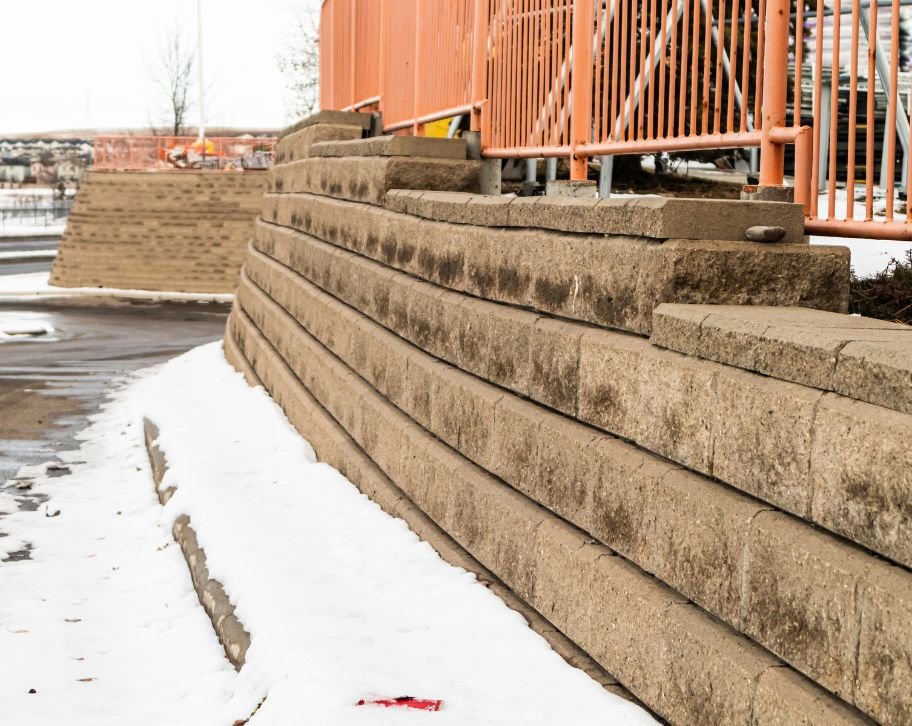
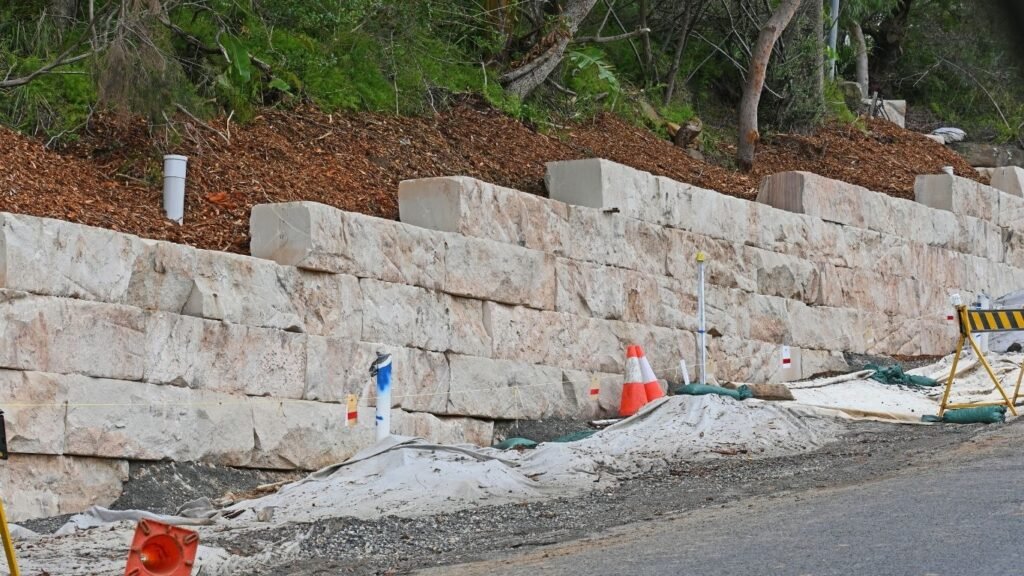
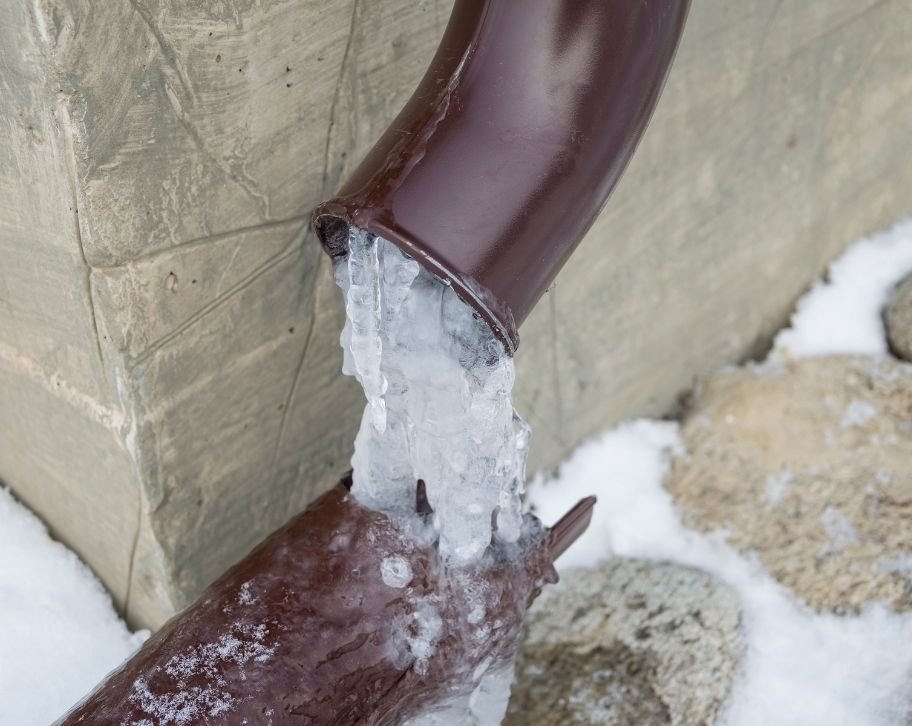
Signs You Need to Rebuild Retaining Wall You are standing in your backyard, staring at a crack snaking across your retaining wall, wondering if it’s just a minor blemish or a warning sign of something far more serious? Maybe you’ve noticed your wall leaning slightly forward, or perhaps water pools at its base after every rainstorm. These aren’t just cosmetic issues that can be patched with a quick fix and forgotten. They’re your property sending you an urgent message that ignoring could cost you thousands in emergency repairs or worse, put your family’s safety at risk. Many Fredericton homeowners believe that all retaining wall damage can be solved with simple repairs. A bit of mortar here, some crack filler there, and everything will be fine, right? Unfortunately, that’s a costly misconception. While minor surface wear can indeed be repaired, certain structural failures signal that your wall has reached the end of its functional life. In New Brunswick’s punishing climate, where freeze-thaw cycles hammer away at structures year after year, the difference between a repairable crack and a catastrophic failure isn’t always obvious to the untrained eye. This guide will walk you through the critical warning signs that distinguish routine maintenance from situations requiring complete reconstruction. You’ll learn how to spot the red flags that professionals look for, understand why water damage is so destructive, recognize when material deterioration has gone too far, and make informed financial decisions about your property. Whether you’re a residential homeowner concerned about your family’s safety, a commercial property manager protecting your investment, or a developer planning renovations, you’ll gain the actionable knowledge needed to protect your property value and prevent the nightmare scenario of a sudden wall collapse. Warning signs that demand immediate attention Not all retaining wall damage is created equal. While a hairline crack might be nothing more than normal settling, certain structural indicators scream that your wall has moved beyond the point of simple repairs. Understanding these critical warning signs can mean the difference between a planned reconstruction and an emergency response to a collapsed wall. The most alarming sign is bulging or bowing in the wall’s center. When you see your wall developing a “belly” that pushes outward, you’re witnessing extreme hydrostatic pressure overwhelming the structure. This happens when saturated soil behind the wall exerts more force than the wall can resist. The internal reinforcement has either failed or was never adequate to begin with. This isn’t something you can patch. The wall is literally being pushed apart from the inside. Leaning or tilting beyond vertical alignment represents foundation failure. A retaining wall must be plumb (perfectly vertical) to function properly. Once it starts leaning away from the slope it’s meant to retain, gravity begins working against the structure, accelerating the failure process. In Fredericton’s climate, freeze-thaw cycles gradually push walls forward each winter. The expanding frozen soil behind the wall acts like a slow-motion battering ram, and once the wall loses its vertical stance, collapse becomes increasingly likely with each passing season. Horizontal cracks are particularly serious and differ dramatically from vertical cracks in their implications. While vertical cracks often result from localized settling or temperature-related expansion and contraction, horizontal cracks indicate the wall is bending under the weight of the soil it’s supposed to hold back. These cracks signal that the structural capacity of the wall has been exceeded. They’re a precursor to what engineers call a “blowout,” where a section of the wall suddenly gives way. In masonry or block walls, watch for stair-step cracking patterns that follow the mortar lines. These distinctive cracks reveal that the foundation beneath the wall is shifting in different directions. The wall is being pulled apart as the ground moves unevenly beneath it. Once these patterns appear, the structural integrity of the entire wall is compromised. Visible separation between blocks or stones means the wall is literally pulling itself apart. When you can see daylight through gaps where components once sat tightly together, water and soil are infiltrating the internal structure. This creates a vicious cycle where more material washes out, creating larger gaps, which allow even more water and soil to escape. In New Brunswick’s freeze-thaw environment, water that seeps into these gaps freezes and expands, forcing the gaps wider with each winter cycle. Settling and sinking in specific wall sections indicates the foundation has been compromised. You might notice the top line of your wall is no longer level, or certain sections appear to be sinking into the ground. This typically results from poor soil compaction during the original construction or erosion of the base material. When the foundation fails, the entire wall becomes unstable. The weight distribution changes, creating stress points that lead to cracking and eventual collapse. An exposed foundation at the wall’s base is a critical warning sign. Retaining walls rely on the soil at their base for stability. When erosion exposes the footer or bottom blocks, the wall loses this support. Without proper anchoring at the base, the wall can easily “kick out” at the bottom, leading to a sudden and complete failure. This is particularly common after heavy spring runoff in the Fredericton area. These signs often compound each other. A wall might start with minor drainage issues, which lead to hydrostatic pressure, which causes bulging, which creates cracks, which allow more water infiltration. By the time multiple symptoms appear, the damage is typically too extensive for repairs to be effective or economical. The wall needs to be completely rebuilt with proper drainage, adequate reinforcement, and a solid foundation that extends below the frost line. How water damage destroys retaining wall integrity Water isn’t just an inconvenience for retaining walls. It’s the single most destructive force they face, and inadequate drainage is the leading cause of wall failure across residential and commercial properties. Understanding how water destroys structural integrity helps explain why drainage-related damage almost always requires complete rebuilding rather than surface repairs. Hydrostatic pressure builds when water accumulates in the soil behind your