Avoid Common Mistakes during Residential Sod Installation?
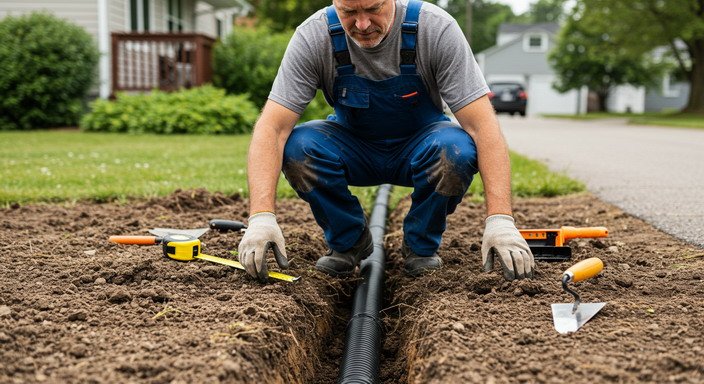
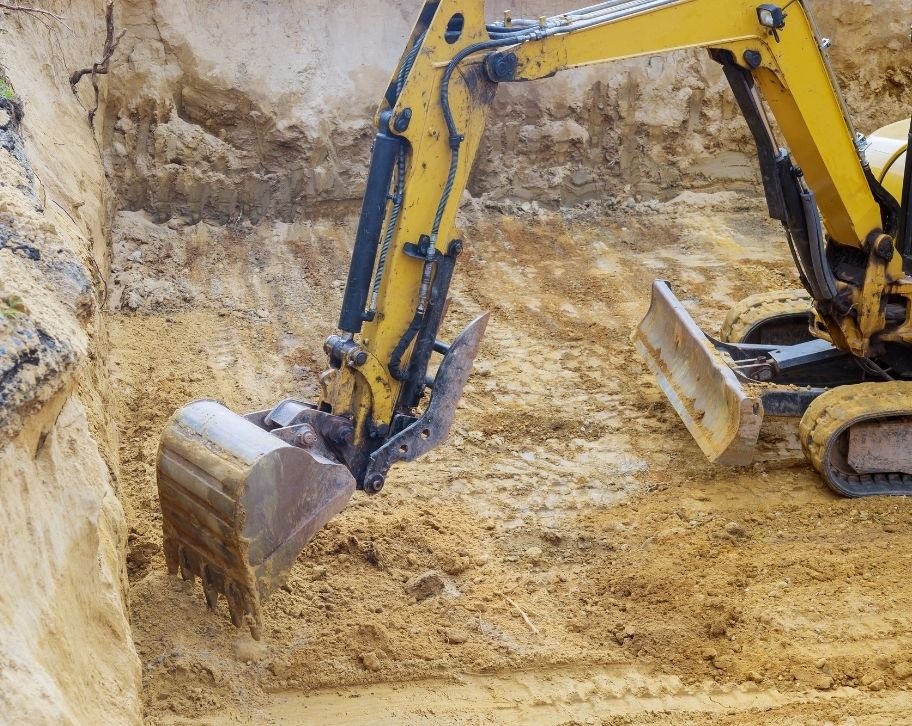
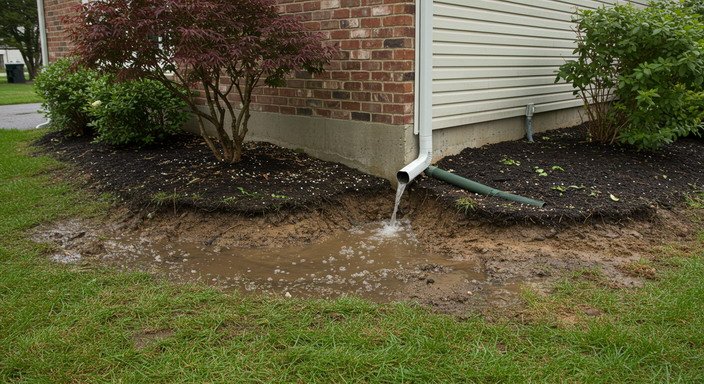
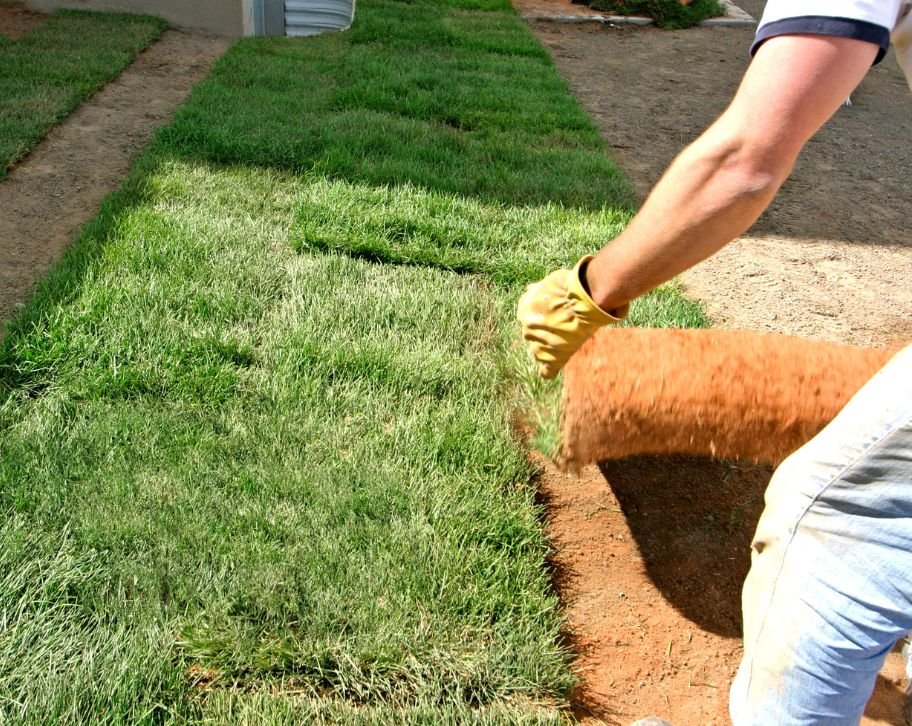
Avoid Common Mistakes during Residential Sod Installation? You have decided to transform your yard with fresh sod, dreaming of that perfect green lawn where your family can play, relax, and create memories. Residential sod installation offers a fast track to a lush lawn, but the journey from bare soil to green paradise isn’t always smooth. Many homeowners find themselves facing unexpected challenges that could have been avoided with proper knowledge. This guide walks you through the most common mistakes people make when installing sod and how you can sidestep these pitfalls for a successful result. Whether you’re planning to lay sod yourself or hire professionals, understanding these common errors will help ensure your investment grows into the beautiful lawn you envision. Mistakes to avoid during residential sod installation Improper soil preparation Think of soil preparation as building the foundation for your home – skip this step, and everything built upon it becomes unstable. Many homeowners rush to lay sod without properly preparing the soil underneath, which can doom your new lawn before it even has a chance to root. Start by removing all existing weeds, rocks, and debris from your yard. This clean slate gives your new sod the best chance for success. Next, you’ll want to test your soil’s pH levels – most grass varieties prefer a slightly acidic soil with a pH between 6.0 and 7.0. Based on these results, you can add lime to raise pH or sulfur to lower it. Proper leveling is another critical step many people overlook. An uneven surface creates low spots where water collects and high spots that dry out quickly. Use a rake to create a smooth, even surface with a slight slope away from your home for good drainage. If your soil is compacted, aeration is essential. Compacted soil prevents root growth and proper water absorption. Breaking up this dense layer allows your sod’s roots to penetrate deeply and establish a strong root system. Lastly, don’t forget to enrich your soil with organic matter. This improves soil structure and provides nutrients your new lawn needs. A thin layer (about half an inch) of compost worked into the top few inches of soil can make a world of difference for your sod’s health. Buying sod too early You might think buying sod a few days before your planned installation date gives you time to prepare, but this is one of the most common mistakes in residential sod installation. Sod is a living product with a very short shelf life, especially in warm weather. When sod sits on pallets, it begins to heat up and decompose rapidly. In summer temperatures, sod can begin deteriorating within just 24 hours of harvest. This means your fresh sod may already be dying before you even lay it down. Plan your project so the sod arrives the same day you are ready to install it. If there’s an unavoidable delay, unroll the sod in a shaded area and keep it moist (but not soaking wet). Remember, every hour that passes reduces your chances of successful establishment. Leaving gaps or overlapping the sod The way you position each piece of sod dramatically affects how your lawn develops. Two common mistakes are leaving gaps between pieces or creating overlaps. When you leave gaps between sod pieces, several problems occur. These spaces dry out quickly, creating dead zones where weeds can easily establish. The edges of the sod also tend to curl and die back around these gaps, making them even larger over time. On the flip side, overlapping sod pieces creates raised ridges in your lawn. These elevated areas are more prone to drying out and dying back. Plus, they create trip hazards and make mowing difficult. For proper installation, place each sod piece tightly against its neighbors, like pieces in a puzzle. Use a sharp knife to trim pieces to fit around curves and edges. Stagger the seams in a brick-like pattern for greater stability and a more natural appearance. This pattern prevents long seams that can shrink and separate as the sod establishes. Not flattening the sod You have carefully prepared your soil and meticulously placed each piece of sod, but if you skip the rolling step, you might still face problems. Using a lawn roller to flatten newly laid sod is not just about aesthetics—it serves a crucial function. Air pockets that form between the sod and soil prevent proper root growth. Your sod’s roots need good contact with the soil to absorb moisture and nutrients. When air pockets exist, roots may dry out or fail to penetrate the soil below, resulting in patches that never properly establish. After laying your sod, use a lawn roller filled to about one-third capacity with water. This provides enough weight to press the sod into the soil without compacting it excessively. Roll in different directions to ensure complete contact, focusing especially on the seams between sod pieces. Watering too much or not enough Proper watering is perhaps the trickiest aspect of new sod installation. Both overwatering and underwatering can spell disaster for your fresh lawn. Newly installed sod requires consistent moisture to establish roots. For the first four weeks, water your sod daily, providing about ½” to ¾” of water across the entire lawn. How can you tell if you’re applying the right amount? Place a few shallow containers (like tuna cans) across your lawn while watering and measure the depth of collected water. Morning watering is ideal, giving the grass time to dry before evening. Evening watering, especially in humid conditions, can promote fungal diseases that damage your new lawn. After the initial four weeks, gradually reduce watering frequency to every other day for another four weeks. This encourages deeper root growth as the roots seek out moisture. Signs of underwatering include curling, blue-gray coloration, and sod pieces that shrink away from each other. Overwatering symptoms include squishing sounds when walked on, fungal growth, and a rotten smell. Adjust your watering based on weather conditions—increase during