Concrete Walkway Overlay: Cost, Benefits & Maintenance Guide
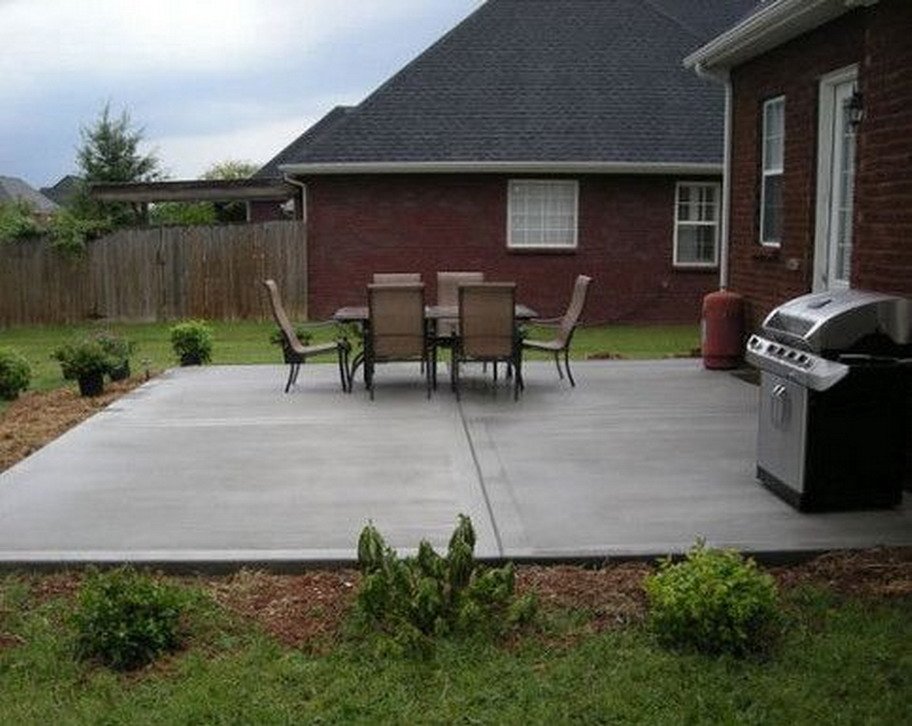
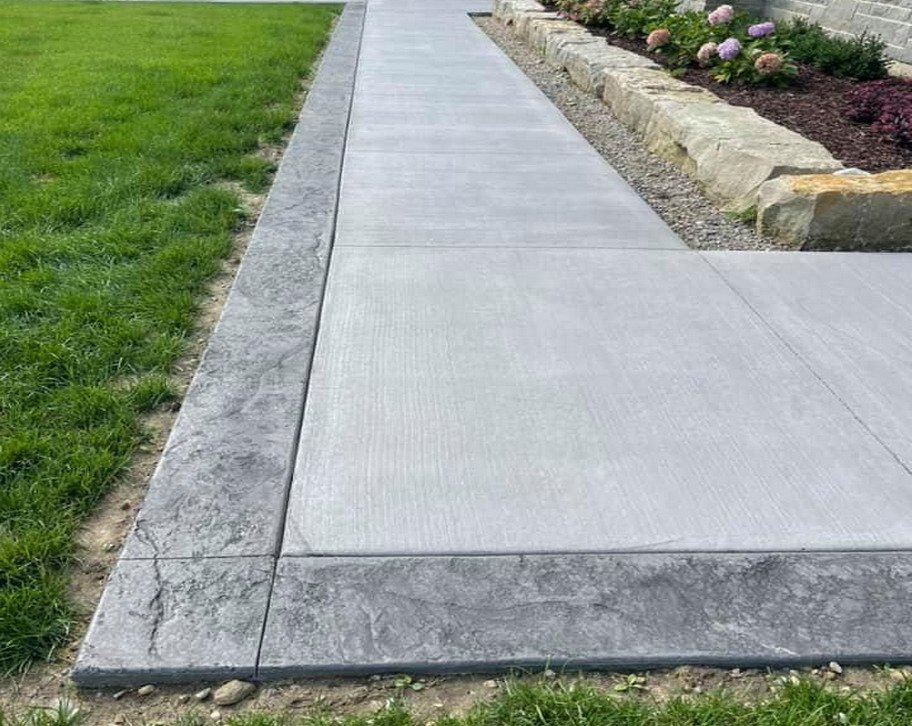
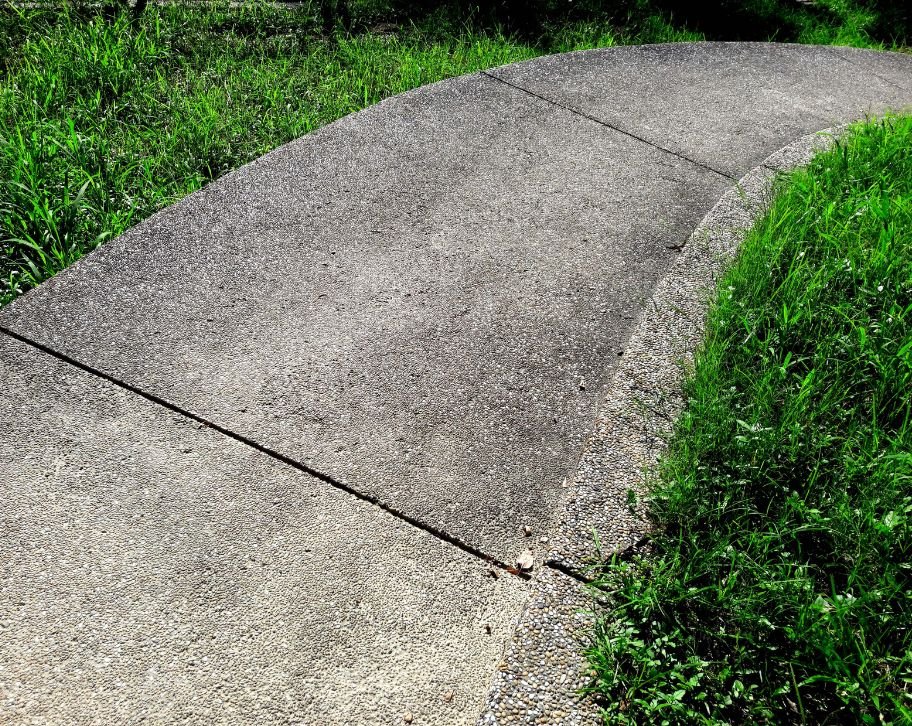
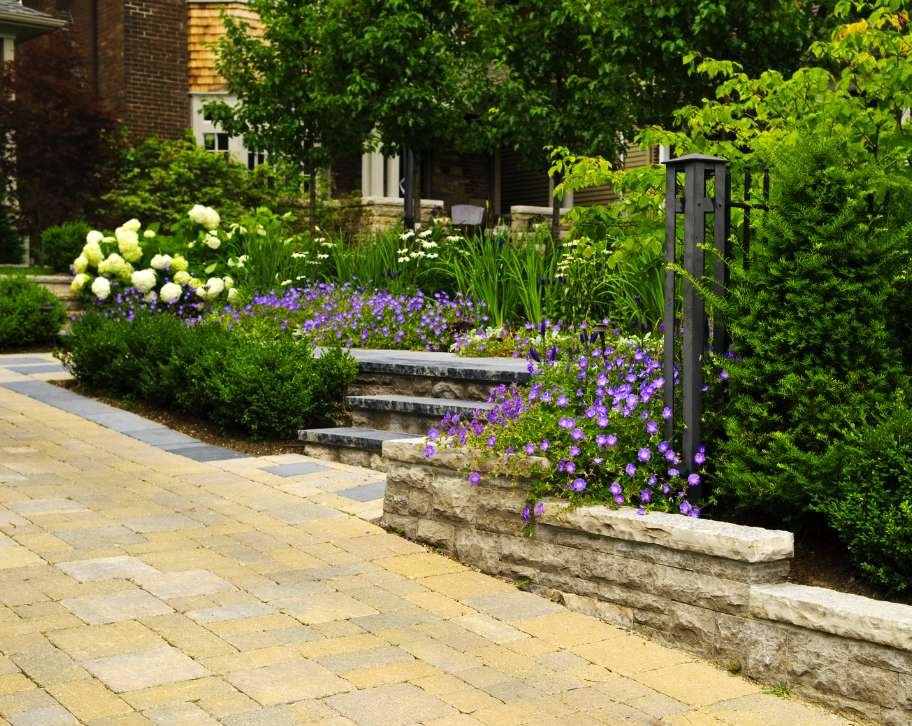
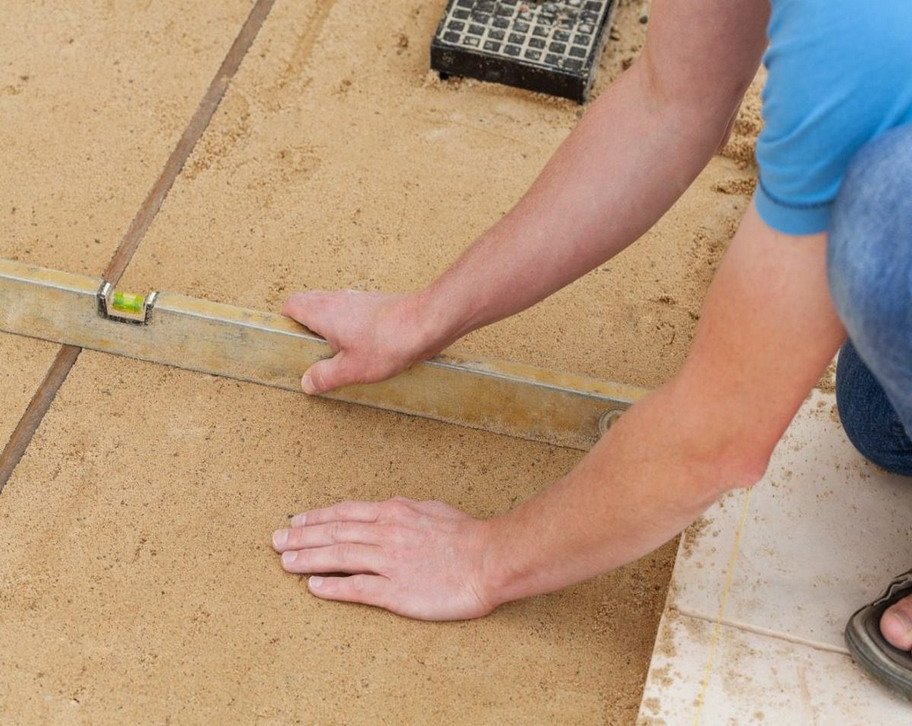
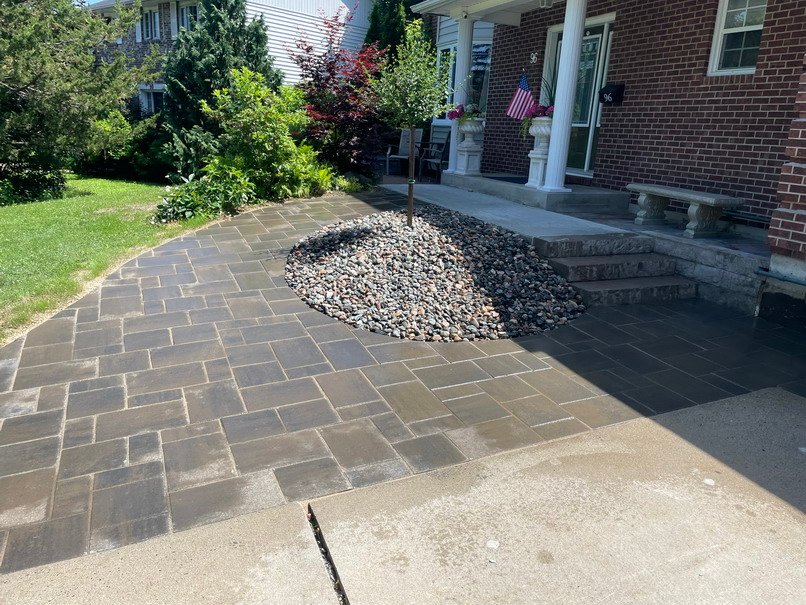
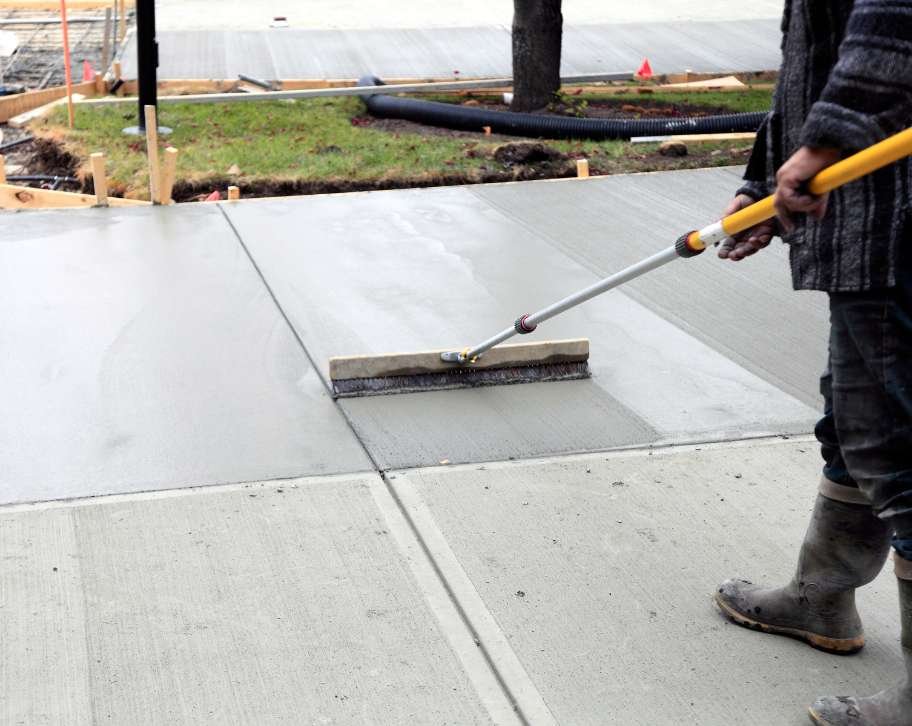
Concrete Walkway Overlay: Cost, Benefits & Maintenance Guide Have you noticed cracks spreading across your concrete walkway? Are stains and discolouration making your entrance look tired and neglected? Many property owners assume full replacement is the only solution when their walkways show signs of wear. A concrete walkway overlay is a thin, polymer-modified layer applied directly over existing concrete that repairs surface damage, restores appearance, and adds protective strength without demolition costs. This resurfacing method works best on structurally sound surfaces with cosmetic issues like minor cracking, scaling, or staining. It typically costs less than full replacement and takes only 2-3 days to complete but depending on the size of the project. This article explains what concrete overlays are, when they work best, cost factors to consider, and maintenance practices that extend their lifespan in Fredericton’s challenging freeze-thaw climate. You’ll learn how to determine if your walkway is a candidate for overlay or requires replacement, and what to expect from a professional installation. What is a concrete walkway overlay and when should you consider it? A concrete walkway overlay is a specialized cement mixture applied in thin layers over structurally sound existing concrete. The material typically contains Portland cement, silica sands, and polymer resins that bond to the original surface. Polymer modification is particularly significant for New Brunswick properties because it increases flexibility, allowing the overlay to withstand expansion and contraction caused by temperature swings. These resins also provide superior resistance to UV rays and chemicals like road salt, which are common in Atlantic Canada winters. Overlays work best on walkways that are structurally sound but cosmetically compromised. Ideal candidates include surfaces with minor spider-web cracking, surface scaling where the top layer has flaked off, oil or rust stains, and general discolouration from weathering. The existing concrete must still have structural integrity for the overlay to perform properly. However, overlays are not suitable for every situation. Structural red flags that require full replacement include: Deep cracks running through the entire slab Significant heaving where sections have lifted due to frost Settled hollows indicating sub-base failure These conditions signal problems beneath the surface that an overlay cannot fix. Applying an overlay over structurally compromised concrete will only result in the same problems reappearing through the new surface. For property owners in Fredericton, overlays offer practical advantages. They eliminate demolition costs, reduce labour hours, and minimize disposal fees. The process is faster than full replacement, typically restoring walkway access within days rather than weeks. Real estate developers and property investors find overlays particularly valuable because they instantly boost curb appeal and property value without requiring massive capital expenditure. Factor Overlay Full Replacement Condition Required Structurally sound with surface damage Structural failure, deep cracks, heaving Cost Range Lower (no demolition or disposal fees) Higher (includes removal and disposal) Timeline 2-3 days typical 1-2 weeks typical Disruption Level Minimal Significant How much does concrete overlay cost and what affects the price? Concrete walkway overlay costs vary based on several project-specific factors. While exact pricing depends on individual circumstances, understanding what influences the price helps property owners budget appropriately and make informed decisions. The size of your walkway is the most obvious cost factor. Larger surfaces require more material and labour hours. However, per-square-foot pricing often decreases slightly on bigger projects due to efficiency gains. Overlay type significantly impacts cost: Micro-toppings and skim coats are the most economical option, providing a thin refresh layer Spray-down overlays cost more due to specialized equipment and application techniques Stampable overlays command premium pricing because they require skilled craftsmanship to create realistic textures and patterns Surface preparation requirements directly affect project cost. Walkways with extensive staining, old sealers, or surface contamination need more intensive cleaning. This might involve pressure washing, diamond grinding, or shot-blasting to create the proper surface profile for bonding. The more preparation work required, the higher the labour cost. Colour and pattern complexity also influence pricing. Single-colour applications are straightforward, while multi-toned finishes that mimic natural stone require additional steps and materials. Intricate stamped patterns demand more time and expertise than simple textures. Sealer quality matters for long-term performance. High-quality, UV-resistant acrylic or polyurethane sealers cost more upfront but provide better protection against moisture penetration and colour fading. This is particularly relevant in Fredericton’s climate, where proper sealing prevents freeze-thaw damage. Polymer-modified mixtures cost more than standard concrete, but they deliver superior durability in harsh climates. The enhanced flexibility and bonding strength justify the price difference when you consider the extended lifespan and reduced maintenance needs. When comparing overlay costs against full replacement, the savings become clear. Replacement requires heavy machinery for demolition, labour-intensive removal, disposal fees at local facilities, and extended project timelines. Overlays eliminate these expenses entirely while still delivering a transformed appearance and renewed structural protection. Professional installation ensures proper surface preparation and climate-appropriate materials, which directly impact how long your overlay lasts. Cutting corners on installation quality to save money upfront often results in premature failure and higher long-term costs. According to industry data, professionally installed overlays in Atlantic Canada typically last 10 to 15 years with proper maintenance, delivering strong return on investment. What maintenance extends the life of your overlay in Atlantic Canada’s climate? A professionally installed concrete overlay typically lasts 10 to 15 years in Fredericton’s challenging climate when properly maintained. Regular care protects your investment and prevents premature deterioration. Routine maintenance checklist for Atlantic Canada: Avoid harsh rock salt during winter. Sodium chloride can degrade the sealer and surface over time. Use sand or calcium chloride as safer alternatives, especially during the first winter after installation. Reseal every 2 to 3 years. The sealer acts as a sacrificial protective layer that prevents water penetration and keeps colours vibrant. Regular resealing is the single most significant maintenance task. Clean with pH-neutral products. Harsh acidic or alkaline cleaners can damage the sealer. Use gentle, pH-neutral solutions for routine cleaning. Conduct annual spring inspections. Check for any cracks, drainage issues, or sealer wear after winter. Early detection allows for simple